Are you wondering how to turn off private browsing in Safari on your iPhone? It’s easy to get caught up in browsing the web privately, but sometimes you might want to switch back to normal browsing mode. Whether you’re troubleshooting, improving your browsing experience, or simply prefer to turn off private browsing, it’s important to know how to do it correctly. In this guide, we’ll show you step-by-step how to turn off private browsing in Safari on your iPhone.
Turning off private browsing on Safari is simple and doesn’t take much time. You’ll be able to switch between private and regular browsing with just a few taps on your screen. If you’re ready to learn how, keep reading, and we’ll guide you through every step.
How to Turn Off Private Browsing in Safari on Your iPhone: A Simple Guide
Are you wondering how to turn off private browsing in Safari on your iPhone? It’s easy to get caught up in browsing the web privately, but sometimes you might want to switch back to regular browsing. Whether you’re fixing a problem, enhancing your browsing experience, or just prefer to disable private browsing, it’s important to know how to do it properly. This guide will show you how to turn off private browsing in Safari on your iPhone.
Turning off private browsing on Safari is quick and simple. With just a few taps, you can go back to regular browsing. If you’re ready to learn how to disable private browsing, follow this guide step by step.
Why You Might Want to Turn Off Private Browsing in Safari on iPhone
Private browsing is great for keeping your online activity hidden, but there are times when it’s better to switch it off. One reason could be that you want your browsing history to be saved. Without private browsing, Safari remembers your visited websites, allowing you to easily go back to them.
Another reason to turn off private browsing is for easier access to things like saved passwords, autofill, and browsing history. When you disable private browsing, you’ll have access to all of these features, making your browsing experience smoother and more efficient. Plus, it helps if you need to check your recent activity later.
Lastly, if you’re sharing your iPhone with someone else, turning off private browsing can help ensure that nothing is hidden or erased. It gives you more control over what’s saved and remembered on your device.
Step-by-Step Guide: How to Turn Off Private Browsing on Safari iPhone
Turning off private browsing in Safari on your iPhone is simple. Just follow these steps:
- Open Safari: Launch the Safari browser on your iPhone.
- Access Tabs: Tap the tabs icon at the bottom-right corner (the icon with two overlapping squares).
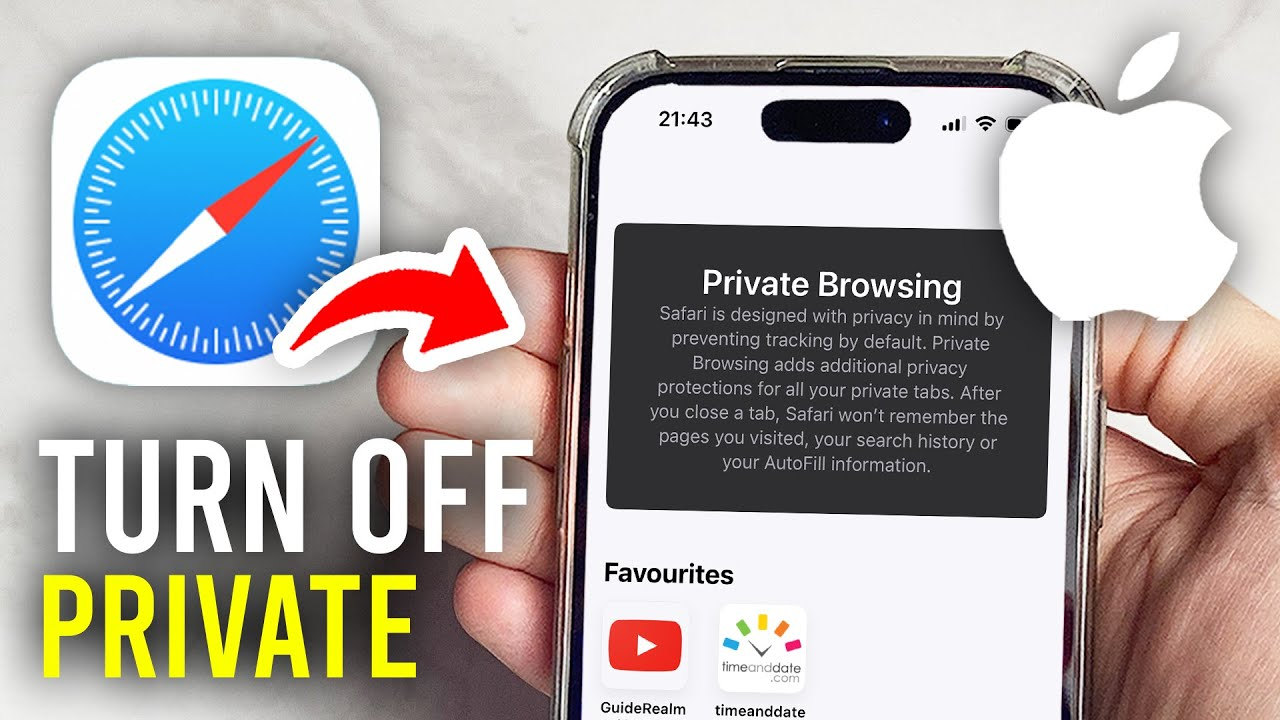
- Switch to Regular Browsing: If you’re in private browsing mode, you’ll see a black background. To turn it off, tap “Private” in the bottom-left corner, and then tap “Done.”
- Return to Normal Mode: After this, you’ll be in regular browsing mode, and the background will turn white.
What Happens When You Turn Off Private Browsing in Safari on iPhone
When you turn off private browsing in Safari on your iPhone, your browsing history will no longer be erased when you close a tab. This means you can easily find sites you’ve visited in the past, as they will appear in your history and can be accessed again.
Your saved passwords and auto-filled information also become available when you turn off private browsing. This is helpful if you’re logged into websites and want Safari to automatically fill in your username and password. It makes your browsing experience faster and more convenient.
Finally, turning off private browsing also lets you use Safari’s other features, like bookmarks and tabs, without worrying about them being cleared. It brings back the normal, full browsing experience, making it easier to use Safari.
Troubleshooting: Why Can’t I Turn Off Private Browsing in Safari on My iPhone
There could be a few reasons why you can’t turn off private browsing in Safari on your iPhone. If the private browsing mode isn’t switching off, try these troubleshooting tips:
- Restart Safari: Sometimes closing Safari completely and reopening it helps reset the browsing mode.
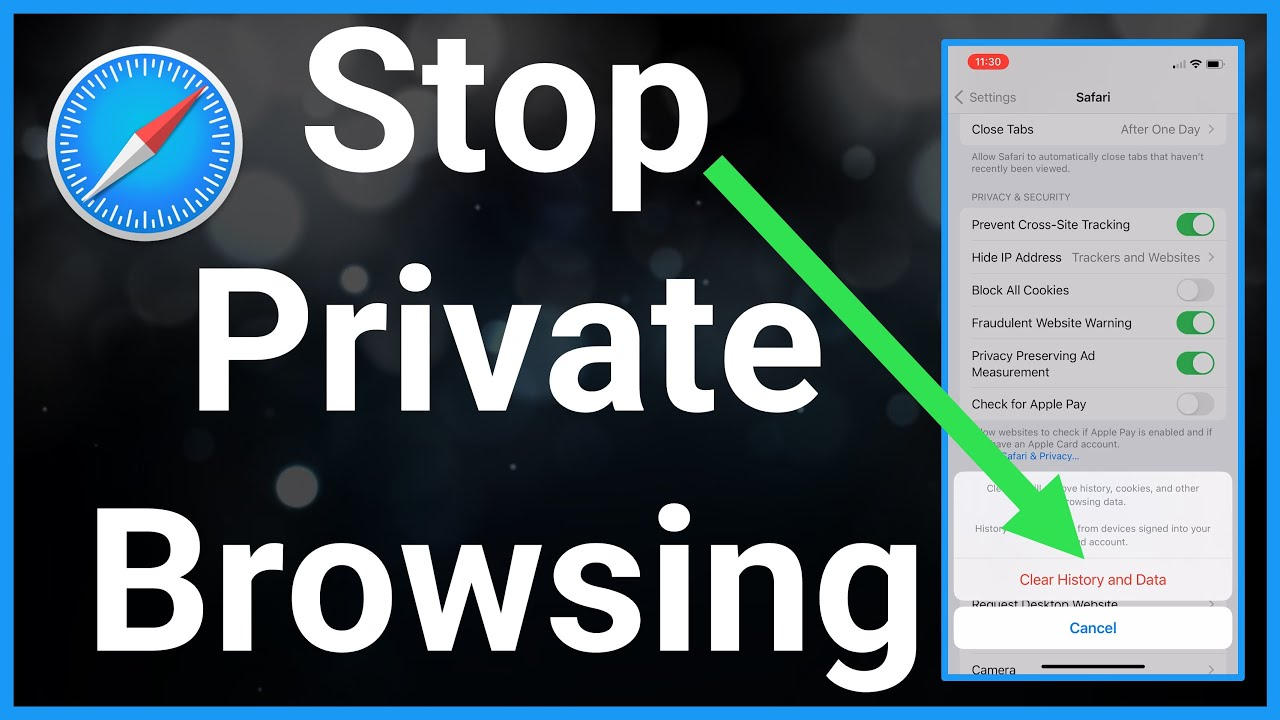
- Check Screen Time Restrictions: If you’ve set Screen Time restrictions on your iPhone, private browsing might be blocked. Go to Settings > Screen Time > Content & Privacy Restrictions, and make sure private browsing isn’t restricted.
- Update iOS: Make sure your iPhone is running the latest iOS version. Sometimes, software bugs can prevent Safari from working properly. To check for updates, go to Settings > General > Software Update.
How to Keep Your Safari iPhone Safe After Turning Off Private Browsing
Turning off private browsing doesn’t mean your iPhone is fully protected. It’s important to follow other steps to keep your browsing safe. Here are some simple tips to stay secure after turning off private browsing:
Use a Strong Password
- Create a strong passcode to lock your iPhone. This is the first line of defense in case someone tries to access your device.
Enable Two-Factor Authentication
- Turn on two-factor authentication for added security on websites and apps that support it.
Use Private Browsing for Sensitive Activities
- If you’re doing something private, like banking or shopping, you can still use private browsing for those specific tasks. Just make sure to enable it before starting those activities.
How to Switch Between Private and Regular Browsing in Safari on iPhone
Knowing how to quickly switch between private and regular browsing in Safari is helpful. Here’s how you can do it:
- Open Safari: Tap the Safari icon on your iPhone.
- Tap Tabs: Press the tab icon to see all open windows.
- Switch to Private Mode: Tap “Private” at the bottom-left corner, then tap “Done” to switch to private browsing.
- Switch Back to Normal Mode: When you’re done, repeat the steps but tap “Done” again to return to normal browsing.
Conclusion
Turning off private browsing in Safari on your iPhone is a quick and simple process. Whether you want to save your browsing history, use saved passwords, or just return to regular browsing, it only takes a few taps. Now that you know the steps, you can easily switch between private and regular browsing whenever you need to.
Remember, turning off private browsing gives you a smoother browsing experience with features like history and autofill. If you ever face any issues or have trouble turning it off, follow the troubleshooting tips, and you’ll be back to normal browsing in no time.